Putting Jenkins in a Docker Container
In this first tutorial in the Docker series, you’ll learn:
-
What we’re trying to accomplish at Riot
-
Basic setup for Docker
-
Basic Docker Pull Commands
-
How to run Docker Containers as Daemons
-
Basic Jenkins configuration options
When I first started learning about Docker a year ago and exploring its use I had trouble finding great documentation and examples - even today many describe simple use cases that ultimately aren’t production ready. Productionizing applications with Docker containers requires adjusting to their ephemeral nature and single-process focus. This presents challenges to applications with data persistence needs or multi-process architectures.
As I mentioned in my last post, we use Jenkins as a foundational piece of open source software on top of which we build our automation. Jenkins is also a great application to demonstrate one way to think about “Dockerizing” your applications. We deploy Jenkins with these architectural components in mind:
-
Jenkins master server (Java process)
-
Jenkins master data (Plugins, Job Definitions, etc)
-
NGINX web proxy (we use SSL certs etc, with NGINX is an easy choice here)
-
Build slave agents (machines either being SSH’d into, or JNLP connecting to, Jenkins Master)
This is a good place to start. Over this series of blog posts I’ll be covering ways to think about all of the above as containers and finish with an advanced look at ways to use Docker containers as build slaves. For starters, we’ll create a Jenkins master server in a Docker container. Then we’ll move on to dealing with data persistence and adding a web proxy with NGINX.
This entire blog series will cover the following Docker concepts:
-
Making your own Dockerfiles
-
Minimizing image dependencies on public images
-
Creating and using Data-Volumes, including backups
-
Creating containerized “Build Environments” using containers
-
Handling “secret” data with images and Jenkins
If you haven’t taken a look at the Cloudbees Jenkins Docker image, start there as it’s really quite good. This was my reference point when first thinking about running Jenkins in a Docker container and for many people this might be sufficient. You can find their documentation here and their Git repo/Dockerfile here.
This first blog is split into two lesson plans. Each is sized to take about 30 minutes to complete. First up, part one is getting your development environment ready and learning to work with the default Jenkins Docker container that Cloudbees offers. Part two is about laying the groundwork to wrap this image in your own Dockerfile and taking more elegant control of the image. Together they’re designed to get you started, especially if you’ve never worked with Docker before or are relatively new to Docker—although they assume you already know and understand how to work with Jenkins. If you’re experienced with Docker, some of the material in Lesson 1 will be a bit of a rehash of things you probably already know.
LESSON 1: SET UP AND RUN YOUR FIRST IMAGE
GET YOUR DEV ENVIRONMENT READY
Let’s get you ready to roll. Here at Riot we work with Docker (and Jenkins) on Windows, Mac OSX, and Linux. I prefer to work with Docker on OSX, though it’s perfectly functional on Windows since Docker 1.6. These days there are excellent installers for both operating systems. I’ll be working from an OSX perspective but the same tools exist for Windows.
PRE-REQUIREMENTS:
1. You’ll need Windows 10 Pro or Mac OSX Yosemite 10.10.3 (or later)
2. If using Windows you need to make sure you have Windows Virtualization enabled (see the documentation Docker provides)
A QUICK NOTE ON KITEMATIC
With Docker 1.8 and the release of Docker Toolbox, Docker now includes “Kitematic,” a nifty GUI tool to help manage and visualize what’s happening with your Docker images and containers. Most of this tutorial focuses on using command-line arguments and working with Docker without the Kitematic GUI. This is to better expose you to the underlying mechanisms. Likewise, in later blogs I start covering the use of Compose to start and stop multiple containers at once.
STEP 1: INSTALL DOCKER
1. Go to: https://www.docker.com/docker-mac or https://www.docker.com/docker-windows
2. Download and install the appropriate version of Docker for your operating system
3. Follow all setup instructions.
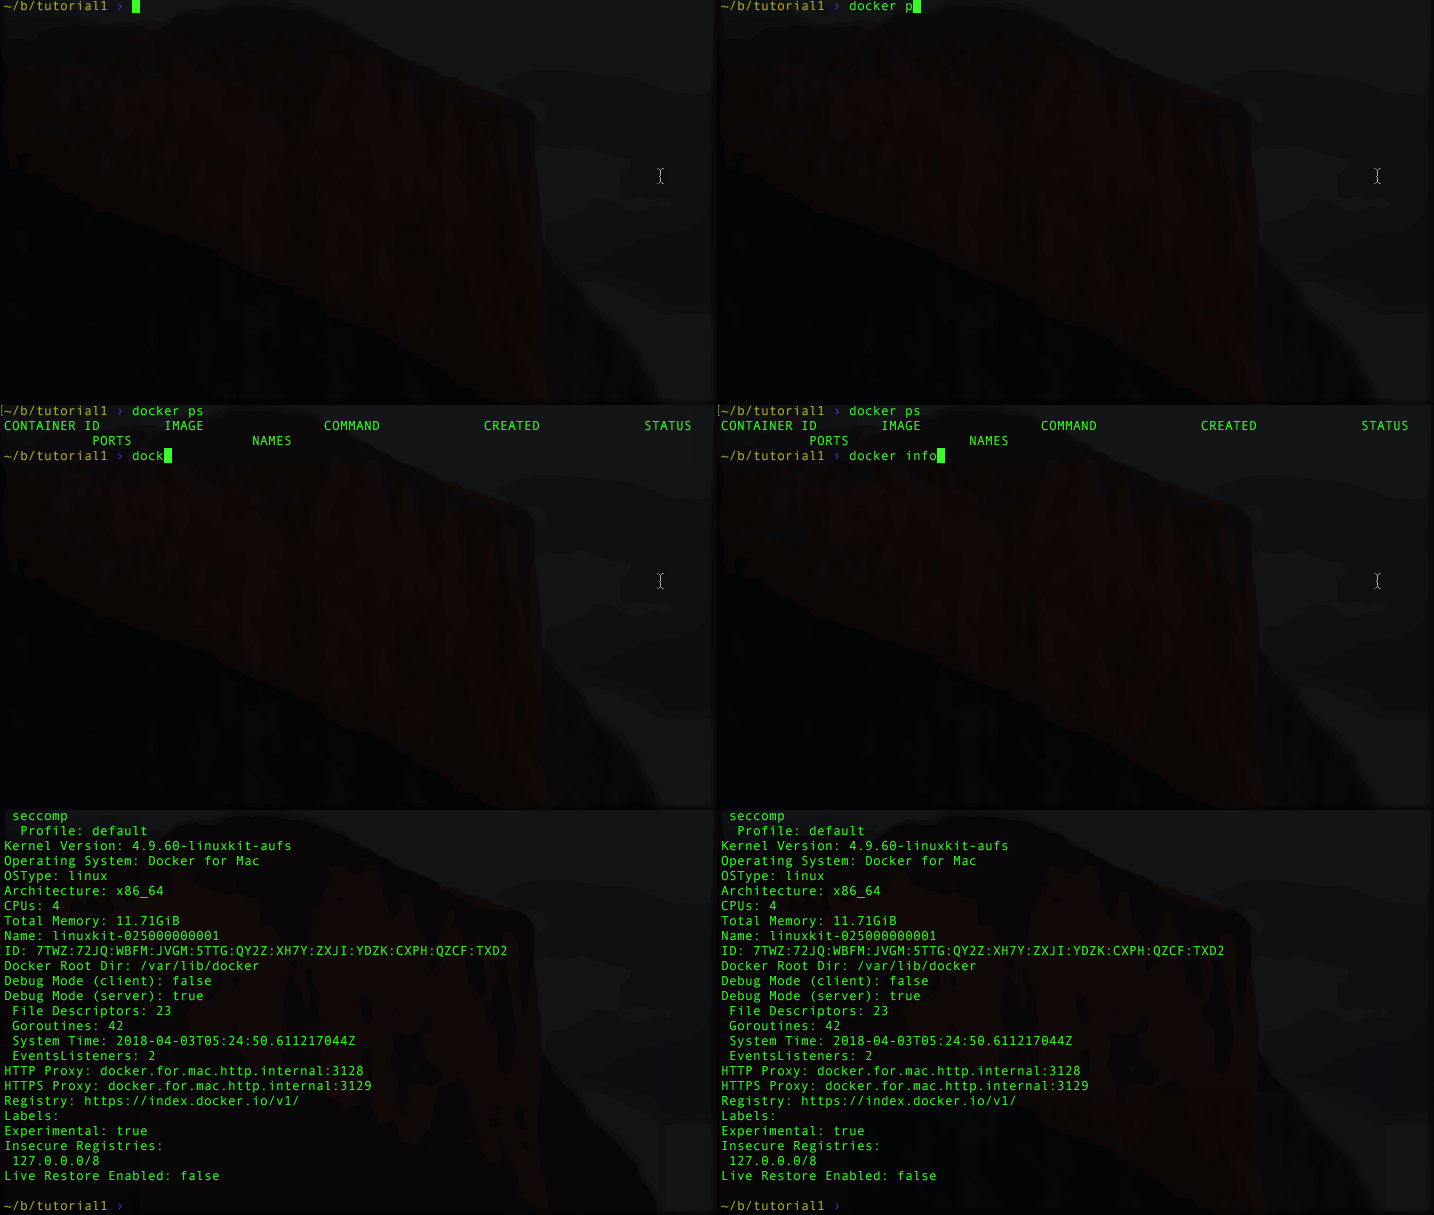
4. Verify that your installation is working by opening the recommended shell for your OS (Terminal for OSX, Powershell for windows) by running “Docker Quickstart Terminal”. On Windows, this will be a shortcut on your desktop. On OSX, you’ll find it in your applications/Docker folder. Check the following commands and make sure you don’t get any errors
docker ps
docker info5. Before we do anything else, we should increase the default memory and CPU settings Docker uses. Later on we’re going to tune Jenkins to use more memory and if we don’t adjust these settings first, Jenkins may crash.
-
Go to your Docker widget in your toolbar and select “Preferences”
-
Go to the Advanced configuration tab
-
Increase CPU usage to at least 4 cores
6. Increase memory usage to at least 8GB, preferably more, something like 12GB to be safe (if you have it available)
STEP 2: PULL AND RUN THE CLOUDBEES JENKINS CONTAINER
1. Stay in your Docker terminal window.
2. Pull Jenkins from the public repo by running:
docker pull jenkins/jenkins
docker run -p 8080:8080 --name=jenkins-master jenkins/jenkins3. Note that the “Jenkins initial setup” message in your shell window will generate a password for you. Write that down as you’ll need it later. If you lose it, you can run `docker exec jenkins-master cat /var/jenkins_home/secrets/initialAdminPassword` with your container running to retrieve it.
4. Open your favorite browser and point it to http://localhost:8080
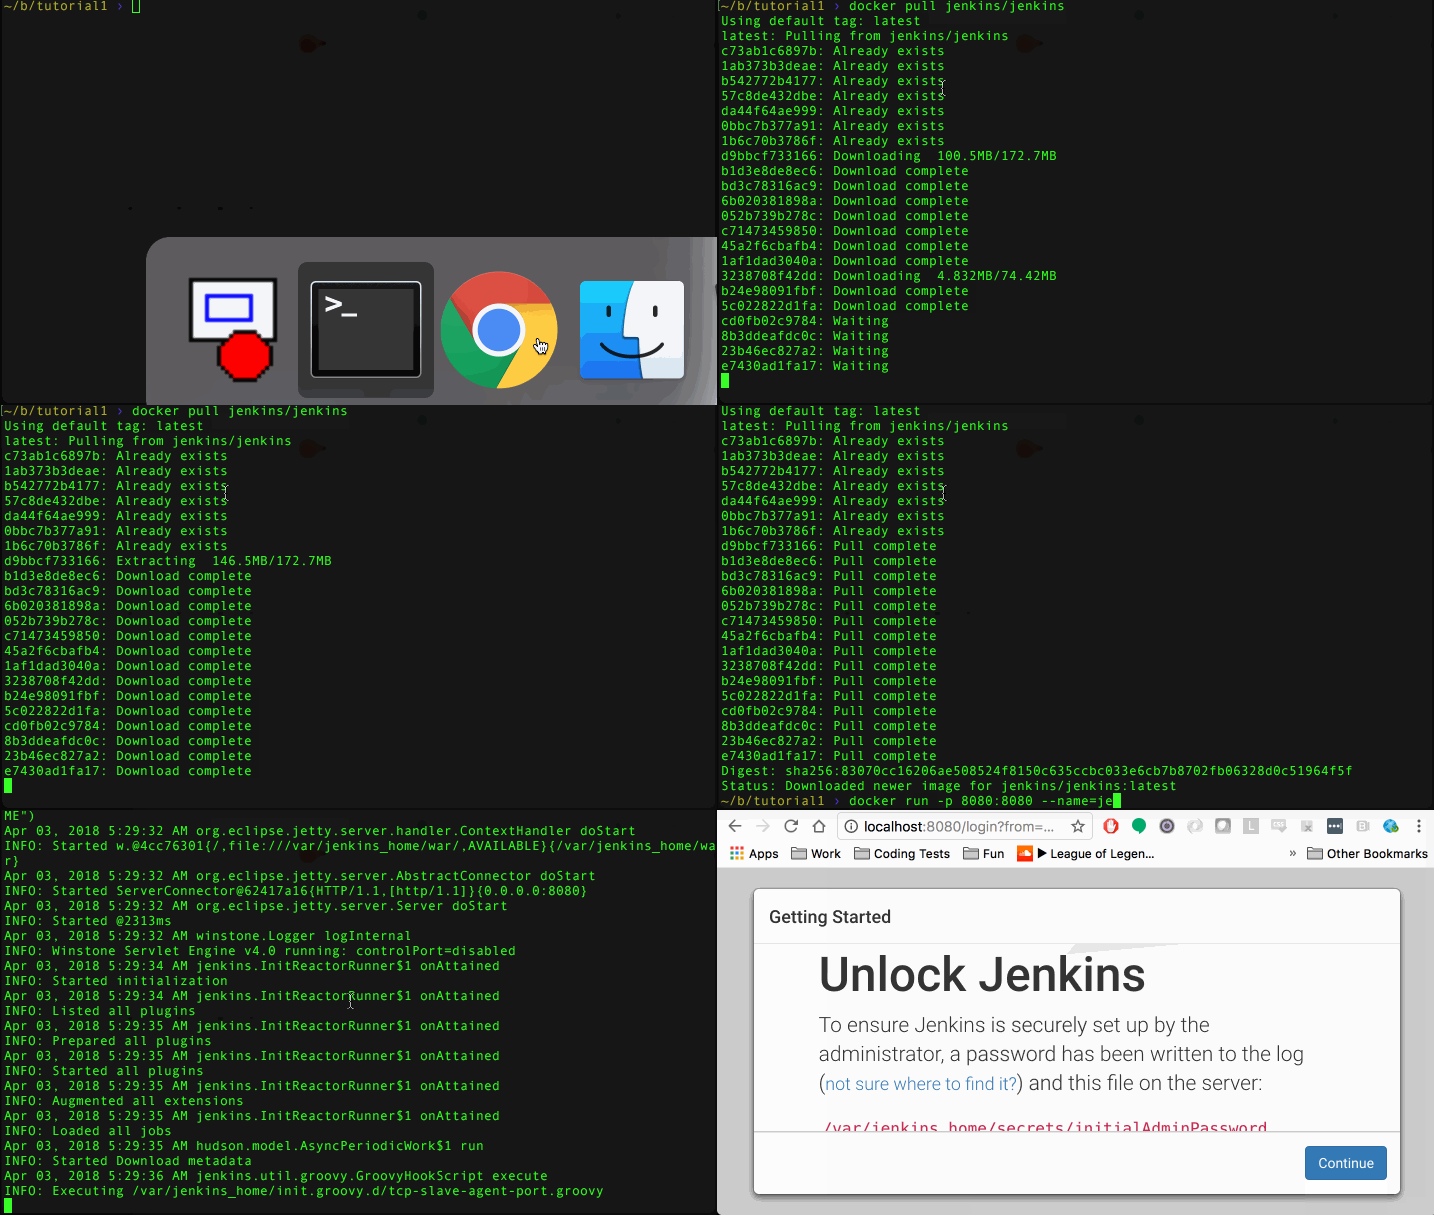
Please note, you’ll see that I use the Docker --name flag and name the container jenkins-master - this is a convention I’ll use throughout this blog. Naming your containers is a handy best practice with three benefits:
1. It makes them easy to remember and interact with
2. Docker doesn't allow two containers to have the same name, which prevents mistakes like accidentally starting two identical ones
3. Many common Docker tools (like Docker Compose) use specific container names, so getting used to naming your containers is a good best practice.
STEP 3: MAKING THIS A LITTLE MORE PRACTICAL
The previous step starts Jenkins with its most basic start up settings. You can even see that Jenkins needs basic config and is asking you for an Administrator password (which you can get from the logs that displayed on your screen during startup). If you’re like Riot, it’s unlikely you run Jenkins on default settings. Let’s walk through adding some useful options. We won’t bother configuring Jenkins yet; it’s enough to know that it can start and run.
STEP 3A: DAEMONIZING
You probably don’t want to see Jenkins logs spew to standard out most of the time. So use the Docker daemon flag to start the container (-d).
1. Ctrl-c on the terminal window running your container to stop it
2. Run the following commands
docker rm jenkins-master
docker run -p 8080:8080 --name=jenkins-master -d jenkins/jenkins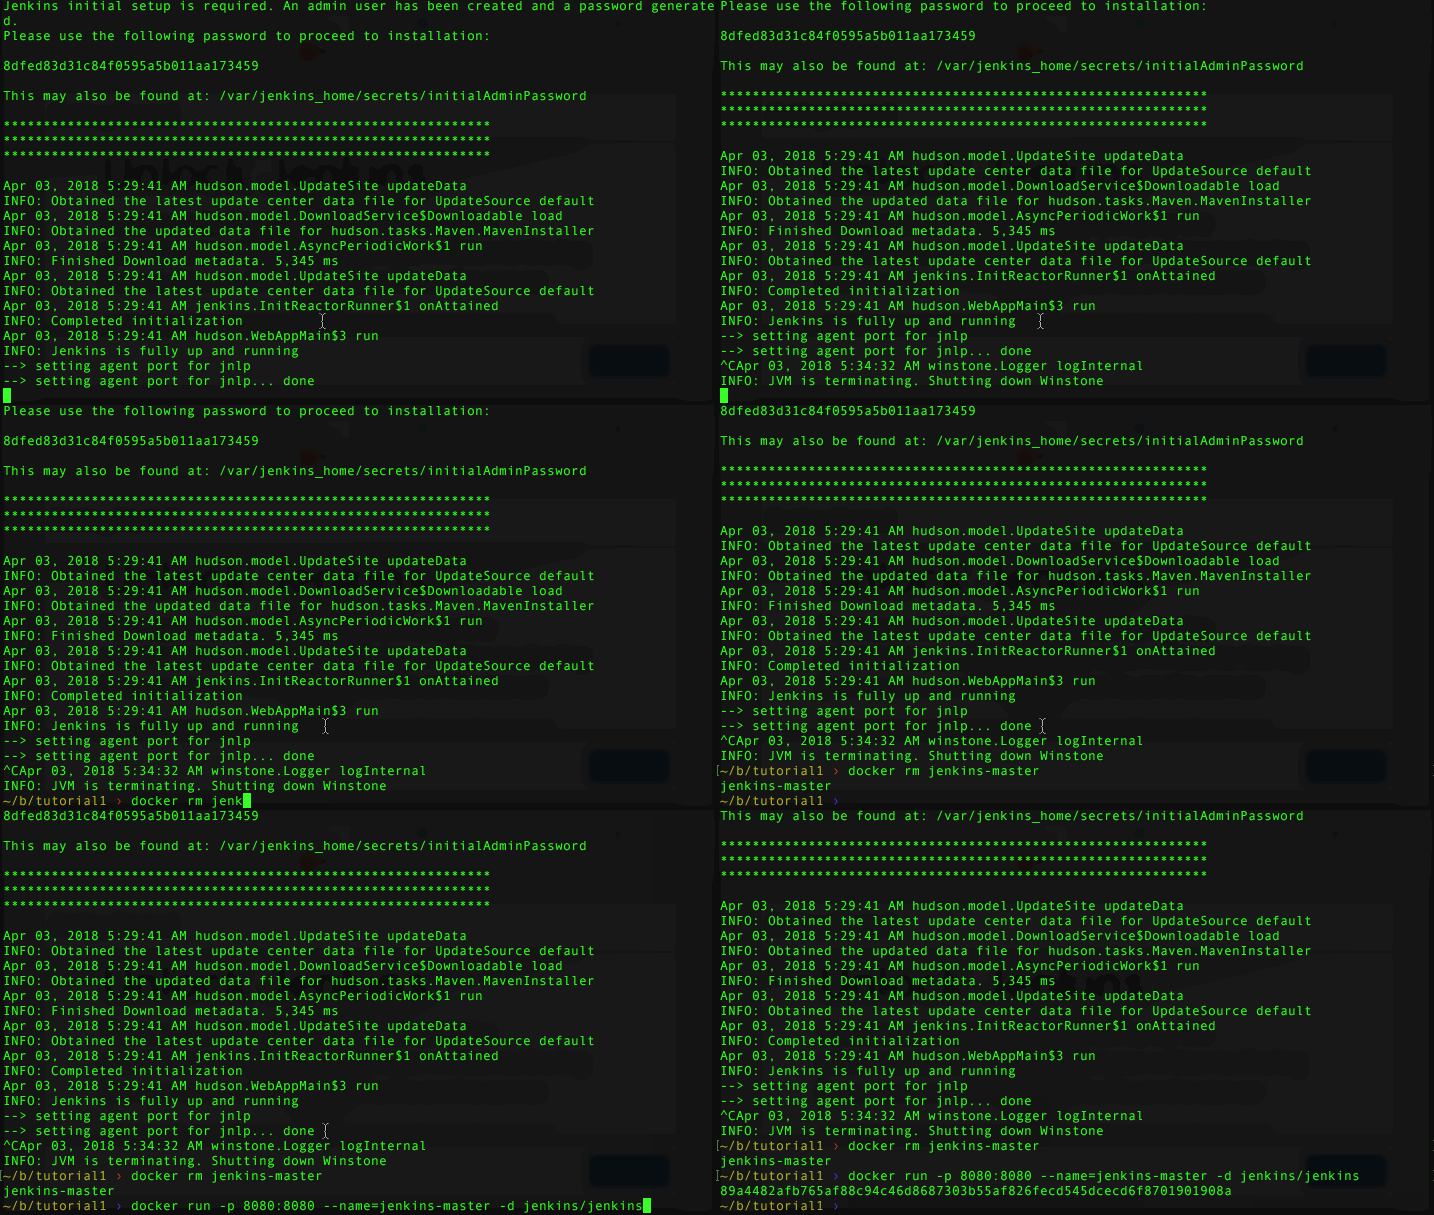
Now you should just get a hash string displayed and be returned to your terminal. If you’re new to Docker, that hash string is actually the unique ID of your container (useful if you start automating these commands).
STEP 3B: MEMORY SETTINGS
We tend to run Jenkins with some beefy settings at Riot. Remember when you increased the CPU/Memory Docker uses earlier? This is the primary reason why. For a basic start, run the following commands
docker stop jenkins-master
docker rm jenkins-master
docker run -p 8080:8080 --name=jenkins-master -d --env JAVA_OPTS="-Xmx8192m" jenkins/jenkinsThat should give Jenkins a nice 8 GB memory pool and room to handle garbage collection.
STEP 3C: INCREASING THE CONNECTION POOL
At Riot, we get a lot of traffic to our Jenkins server, so we’ve learned to give Jenkins a bit more breathing room. Run the following
docker stop jenkins-master
docker rm jenkins-master
docker run -p 8080:8080 --name=jenkins-master -d --env JAVA_OPTS="-Xmx8192m" --env JENKINS_OPTS=" --handlerCountMax=300" jenkins/jenkinsThat’ll give Jenkins a nice base pool of handlers and a cap. Coincidently you’ve now learned how to use both JAVA OPTS and JENKINS OPTS as environment variables in a meaningful way. Please note, this works because of how Cloudbees conveniently structured their Jenkins Dockerfile.
STEP 4: PUTTING IT ALL TOGETHER
I placed everything we learned here into a simple makefile so you can use make commands to control running your Jenkins docker container. You can find it here:
You can use the following commands:
-
make build - Pulls the Jenkins image
-
make run - Runs the container
-
make stop - Stops the container
-
make clean - Stops and deletes the existing container
You don’t have to use the makefile, I just find it easier than typing out the whole run command. You could easily put these in a script of your choosing instead.
COMMENTS
Hopefully you see how easy it is to get up and running with Docker and Jenkins. I’ve tried to give you some basic options to take the default Cloudbees Jenkins container and make it a little more usable. Cloudbees has many useful tutorials for running their container, such as how to pre-install plugins and store Jenkins data.
That brings me to future posts on the subject. This container/image is useful but has a few drawbacks: no consistent logging, no persistence, no web server proxy in front of it, and no clean way to guarantee you use the version of Jenkins you want. This brings up questions like: what if you want to stick to an older version? Or what if you want to use the latest available release period?
In the next lesson I’ll cover making this container a little more robust. In particular:
-
Creating your own Dockerfile to wrap the Cloudbees base
-
Moving some of the environment variables into this new image
-
Creating a log folder, setting permissions and other useful Jenkins directories, and retrieving the Jenkins logs while it’s running
LESSON 2 - A JENKINS BASE IMAGE WRAPPER
In the previous lesson I discussed setting up a development environment to run Docker and experimented with the Jenkins Docker image provided by Cloudbees. We found that it was simple and easy to use, with some great features out of the box. To make progress in the improvement areas we identified, the Docker concepts covered in this lesson are:
-
Making your own Dockerfile
-
Setting environment variables in a Dockerfile
-
Creating folders and permissions in a Dockerfile
-
Using docker exec to run commands against a running container
MAKING YOUR BASE DOCKERFILE
We want to make some changes to how Jenkins starts by default. In the last blog we handled this by creating a makefile that passed in arguments as environment variables. Given that we want to do this every time, we can just move those into our own Dockerfile. Additionally, our own Dockerfile will let us lock the version of Jenkins we’re using in case Cloudbees updates theirs and we’re not ready to upgrade.
We do this in four steps:
1. Create a working directory
2. In your favorite text editor, create a new file called “Dockerfile”
3. Add the following to the file and save it:
FROM jenkins/jenkins:2.112
LABEL maintainer=”[email protected]”
4. Then at the command line enter:
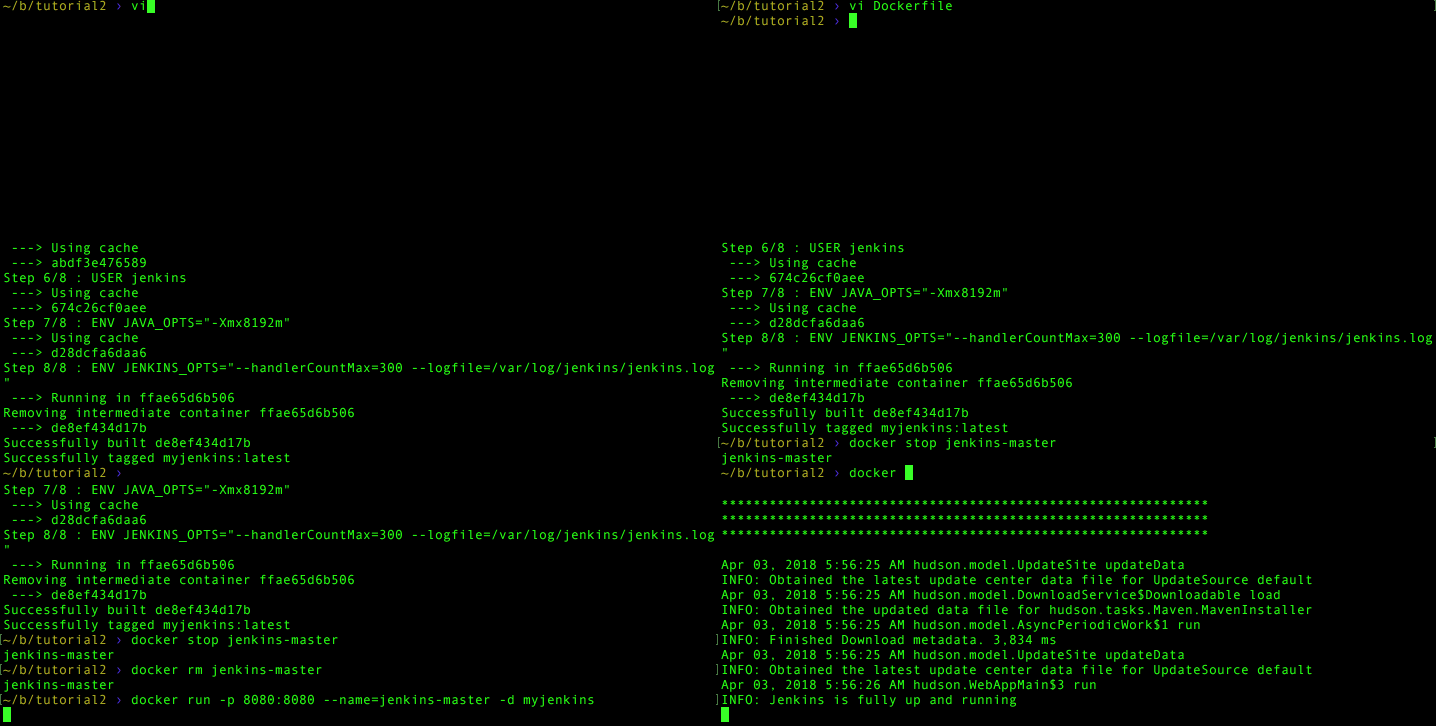
docker build -t myjenkins .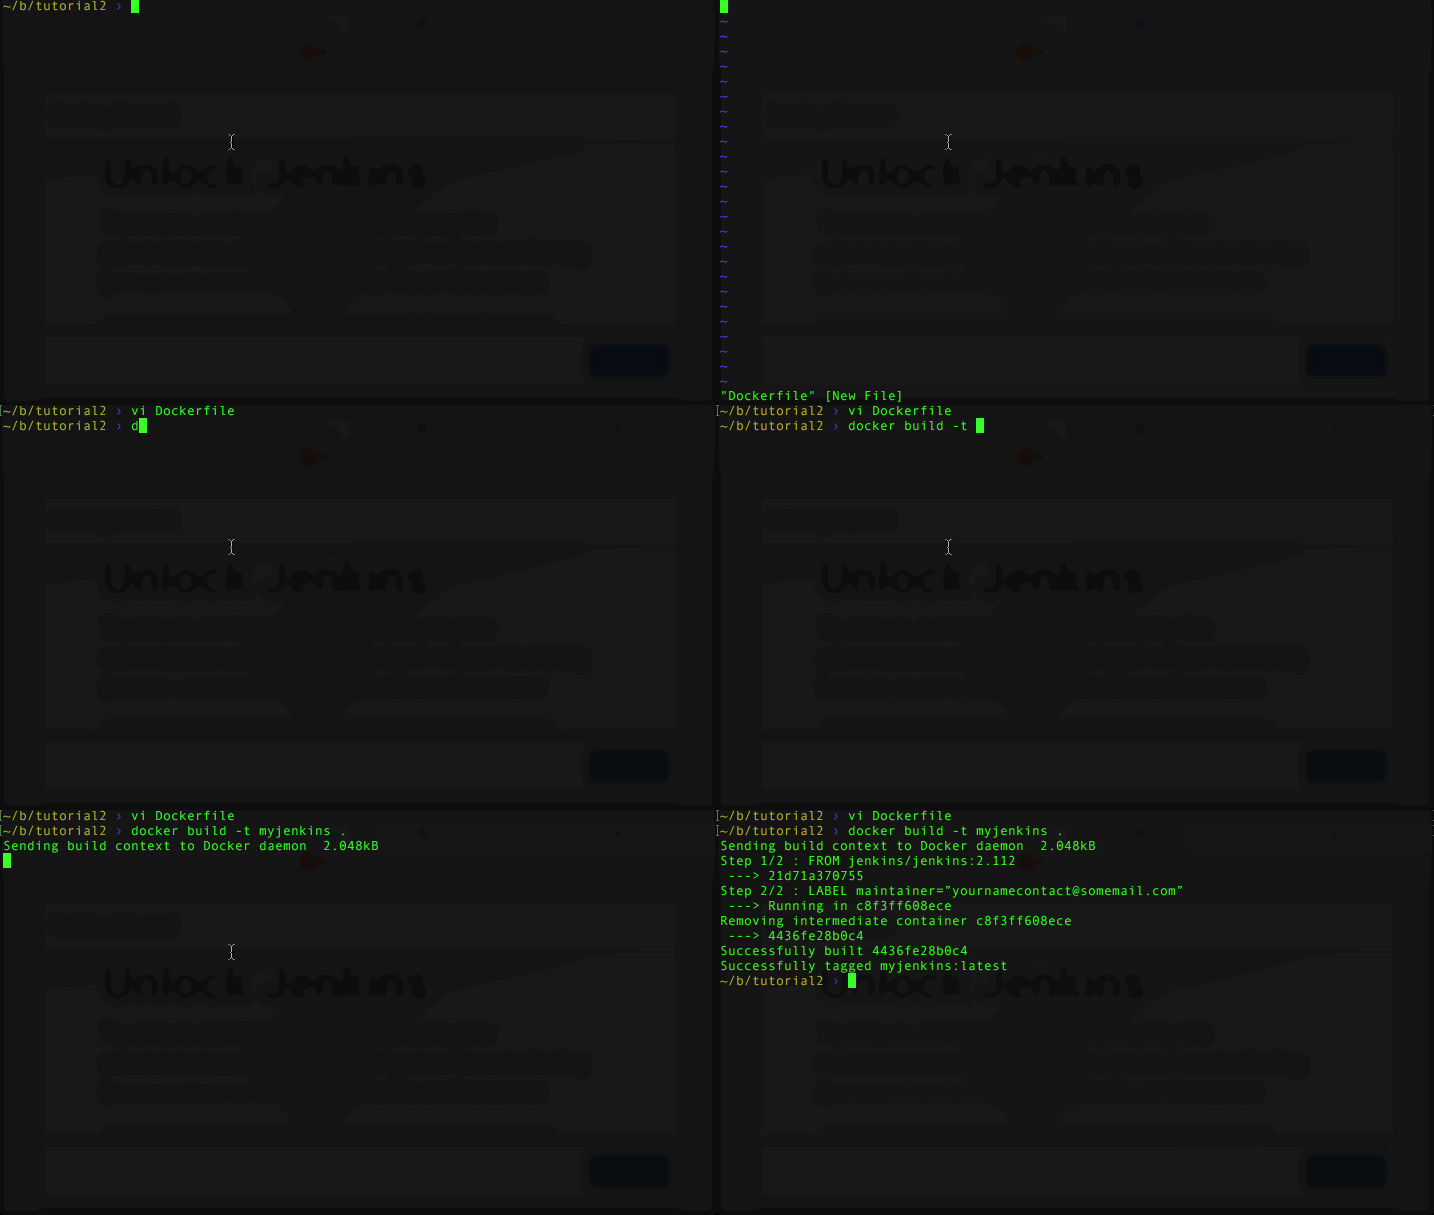
What we did here was pull a particular version of the Jenkins image from the public docker repo. You’ll find all the available versions here:
You can always set the FROM clause to be whatever version of the image is available. However, you can’t just set the version to whatever version of Jenkins you want. This is the image version “tag” or “label,” and Cloudbees is nice enough to make it match the Jenkins version inside the image. Cloudbees offers “jenkins/jenkins” as a convenient way to get the latest version, or “jenkins/jenkins:lts” to get the most recent “Long Term Support” version. In this example I use a specific version. These tags that label types of releases are great but using them means the version of Jenkins may change underneath you which can cause complications if you weren’t ready to upgrade. I recommend “version locking” as a general best practice when dealing with any dependencies in Docker or other dependency management tools. You want things to change when you intend them to, not before. That’s why I use a specific version here.
TESTING THE NEW DOCKERFILE
We can switch over to the image very easily by modifying our docker run command to the following:
docker run -p 8080:8080 --name=jenkins-master -d --env JAVA_OPTS="-Xmx8192m" --env JENKINS_OPTS=" --handlerCountMax=300" myjenkinsNow we can cleanup those environment variables by placing them in our own Dockerfile.
ADDING ENVIRONMENT VARIABLES TO OUR DOCKERFILE
It’s easy to add default settings for things like environment variables to Dockerfiles. This also provides a nice piece of self-documentation. And, because you can always overwrite these when running the Docker container, there’s really no downside.
1. In your Dockerfile add the following lines after the “MAINTAINER” line:
ENV JAVA_OPTS="-Xmx8192m"
ENV JENKINS_OPTS=" --handlerCountMax=300"
2. Save and rebuild your image:
-
docker build -t myjenkins .
docker build -t myjenkins .Pretty simple! You can test that it still works by entering the following three commands:
docker stop jenkins-master
docker rm jenkins-master
docker run -p 8080:8080 --name=jenkins-master -d myjenkins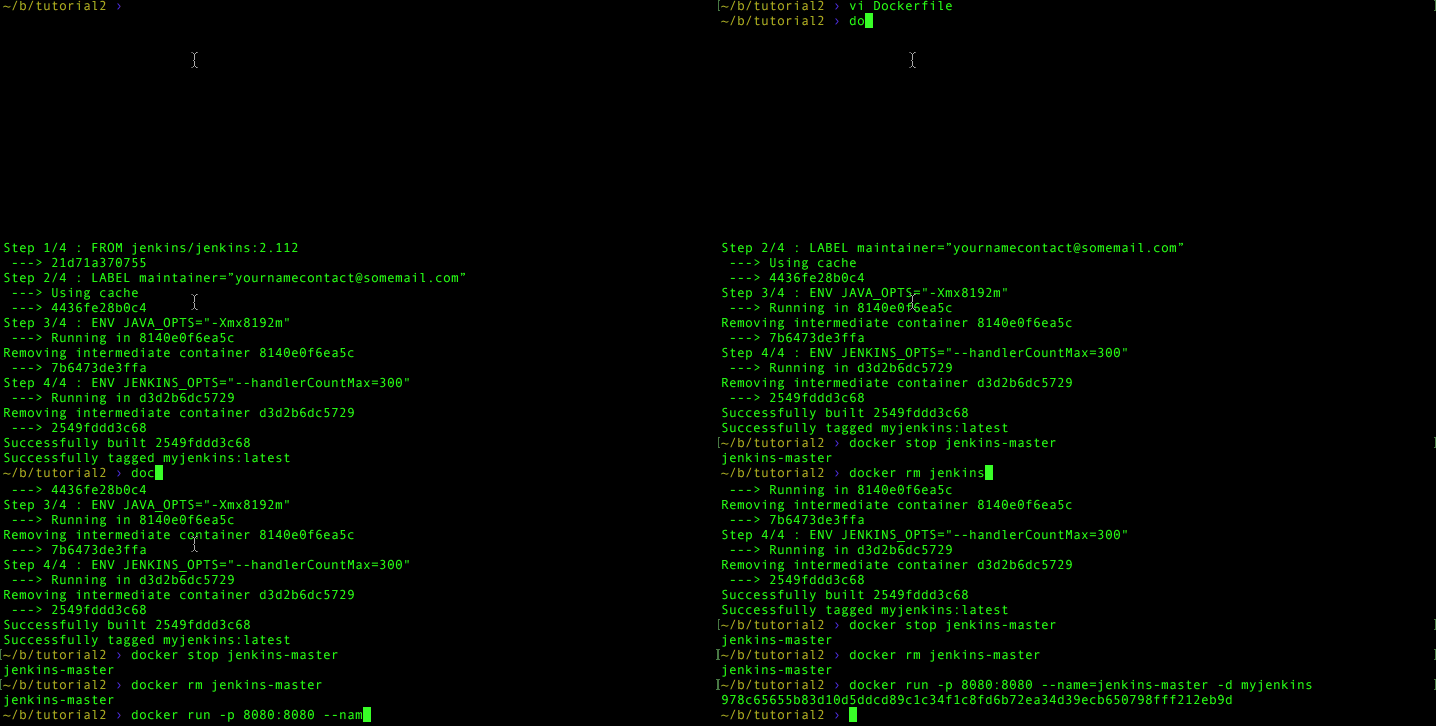
Your image should start right up! But how do you know the environment variables worked? Simple: the same way you’d check to see what arguments started your Jenkins app normally using ps. And this works even if you’re developing on Windows.
RUNNING A BASIC COMMAND AGAINST YOUR CONTAINER
To confirm that the Java and Jenkins options are set correctly we can run ps in our container and see the running Jenkins Java process by using docker exec
docker exec jenkins-master ps -ef | grep javaYou should see something similar to this come back
jenkins 1 0 99 21:28 ? 00:00:35 java -Xmx8192m -jar /usr/share/jenkins/jenkins.war --handlerCountMax=300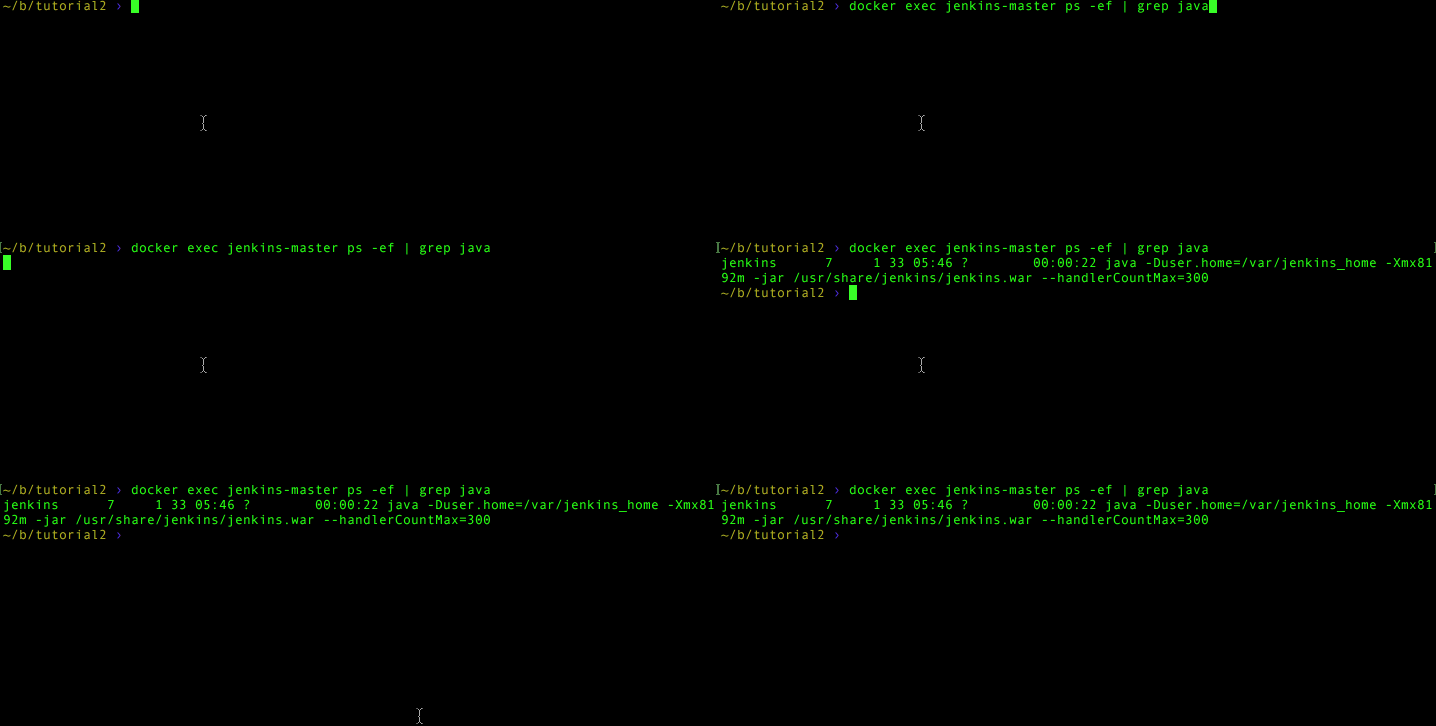
From this, you can easily see our settings have stuck. docker exec is a simple way to execute shell commands inside your container and also an incredibly simple way to inspect them. This even works on Windows because, remember, the command after “exec” is being run inside your container and thus is based on whatever base image your container uses.
SETTING UP A LOG FOLDER
In the previous blog we noted that we lost visibility into the Jenkins logs when running our container with the daemonize flag (-d). We want to use the built in Jenkins feature to set a log folder. We’re going to need to do this in our Dockerfile and then pass in the logging option to Jenkins.
Let’s edit our Dockerfile again. Between the “MAINTAINER” and first ENV line we’re going to add the following
RUN mkdir /var/log/jenkinsWe place the command at this location in the file to follow best practices. It is more likely we will change the environment variables than these setup directories, and each command line in a Dockerfile essentially becomes its own image layer. You maximize layer re-use by putting frequently changed items near the bottom.
Now build your image again:
docker build -t myjenkinsYou’ll get an error that looks like
---> Running in 0b5ac2bce13b
mkdir: cannot create directory ‘/var/log/jenkins’: Permission denied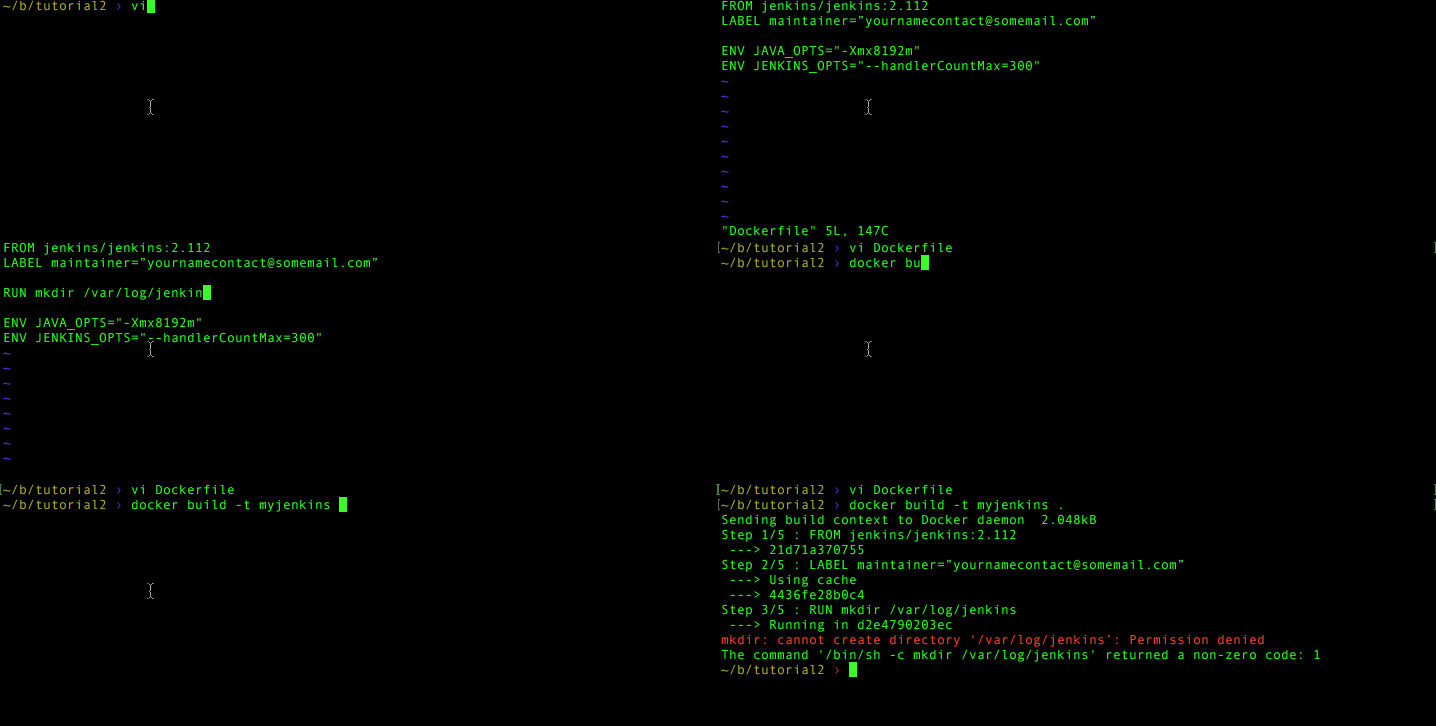
No worries. This is because the default Cloudbees container sets the running user to the “Jenkins” user. If you look at their Dockerfile (found here: https://github.com/ Jenkinsci/docker/blob/master/Dockerfile) you should see, near the bottom
USER ${user}This syntax may be a bit confusing. It uses Docker’s build “arguments” to allow you to define the user. If you look further up the Docker file you’ll find the default value. Look near the top of the Dockerfile for
ARG user=jenkinsThis creates the “user” argument (ARG) and sets it to the Jenkins user. This allows you to change the username that Jenkins uses when you call docker build --build-arg somevariable=somevalue. Note that this only works if you’re building the Dockerfile from scratch. You cannot change these values with a docker pull or a docker run. You can read more about build arguments here. Because we’re using a prebuilt version in our FROM clause, we end up with the default user: “jenkins”.
In normal Linux you’d just use SUDO or some other means to create the folder (/var/log is owned by root). Fortunately for us Docker lets us switch users.
Add the following to your Dockerfile:
1. Before your RUN mkdir line add
USER root2. After your RUN mkdir line add
RUN chown -R jenkins:jenkins /var/log/jenkins3. After your RUN chown line add:
USER jenkinsNote that we had to also add a chown command because we want the Jenkins user to be able to write to the folder. Next, we set root and then reset Jenkins so that the Dockerfile’s behavior is preserved.
Now build your image again:
docker build -t myjenkins .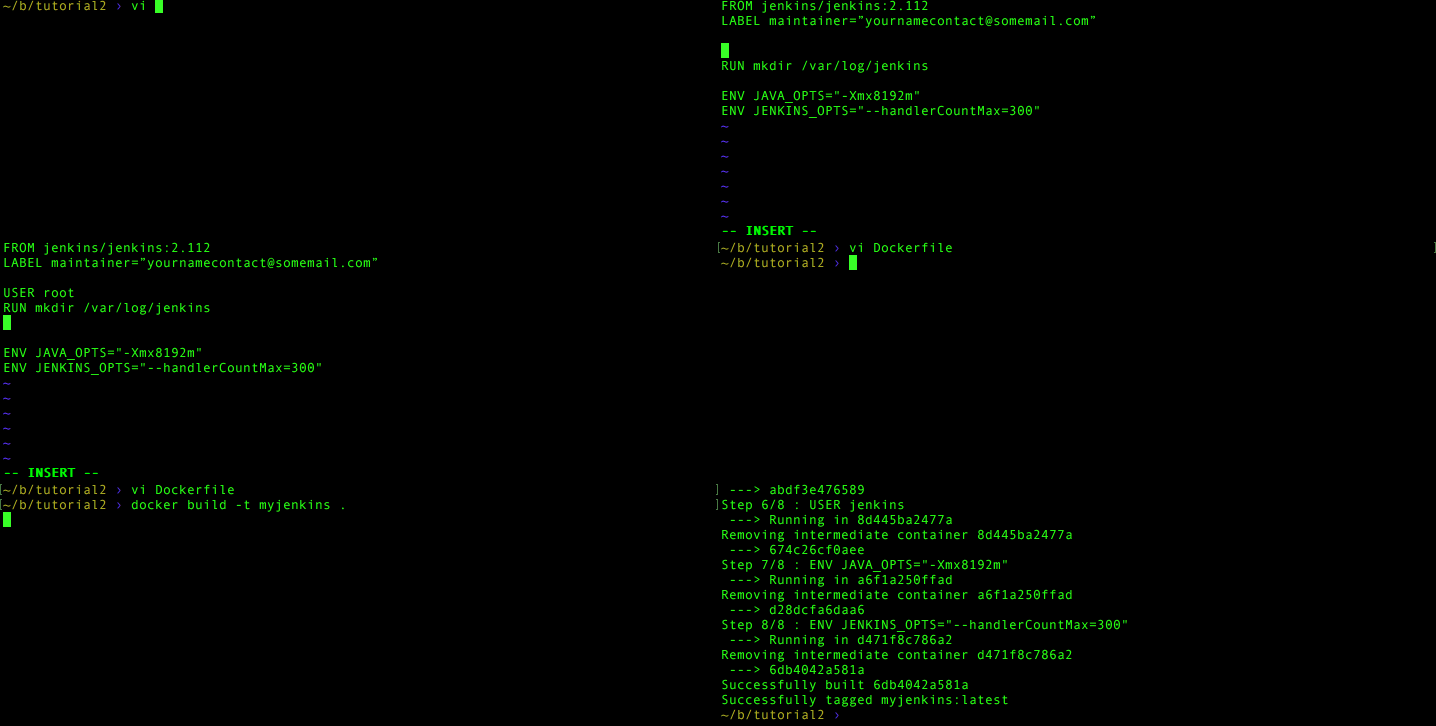
And... your errors should be gone.
With the log directory set (please note: you can place this folder wherever you’d like, we use /var/log for consistency) we can now tell Jenkins to write to that folder on startup by modifying the JENKINS_OPTS environment variables.
In your Dockerfile edit the JENKINS_OPTS line to look like this:
-
ENV JENKINS_OPTS="--handlerCountMax=300 --logfile=/var/log/jenkins/jenkins.log"
ENV JENKINS_OPTS="--handlerCountMax=300 --logfile=/var/log/jenkins/jenkins.log"
Now build your image one more time
docker build -t myjenkins .Let’s test our new image and if we can tail the log file! Try the following commands
docker stop jenkins-master
docker rm jenkins-master
docker run -p 8080:8080 --name=jenkins-master -d myjenkinsWith the container running we can tail the log file if everything worked
docker exec jenkins-master tail -f /var/log/jenkins/jenkins.logRETRIEVE LOGS IF JENKINS CRASHES
Time for a bonus round! As long as we’re discussing logs, Docker presents an interesting problem if Jenkins crashes. The container will stop running and docker exec will no longer work. So what to do?
We’ll discuss more advanced ways of persisting the log file later. For now, because the container is stopped we can copy files out of it using the docker cp command. Let’s simulate a crash by stopping the container, then retrieving the logs:
1. ctrl-c to exit out of the log file tail
2. Run the following commands
docker stop jenkins-master
docker cp jenkins-master:/var/log/jenkins/jenkins.log jenkins.log
cat jenkins.log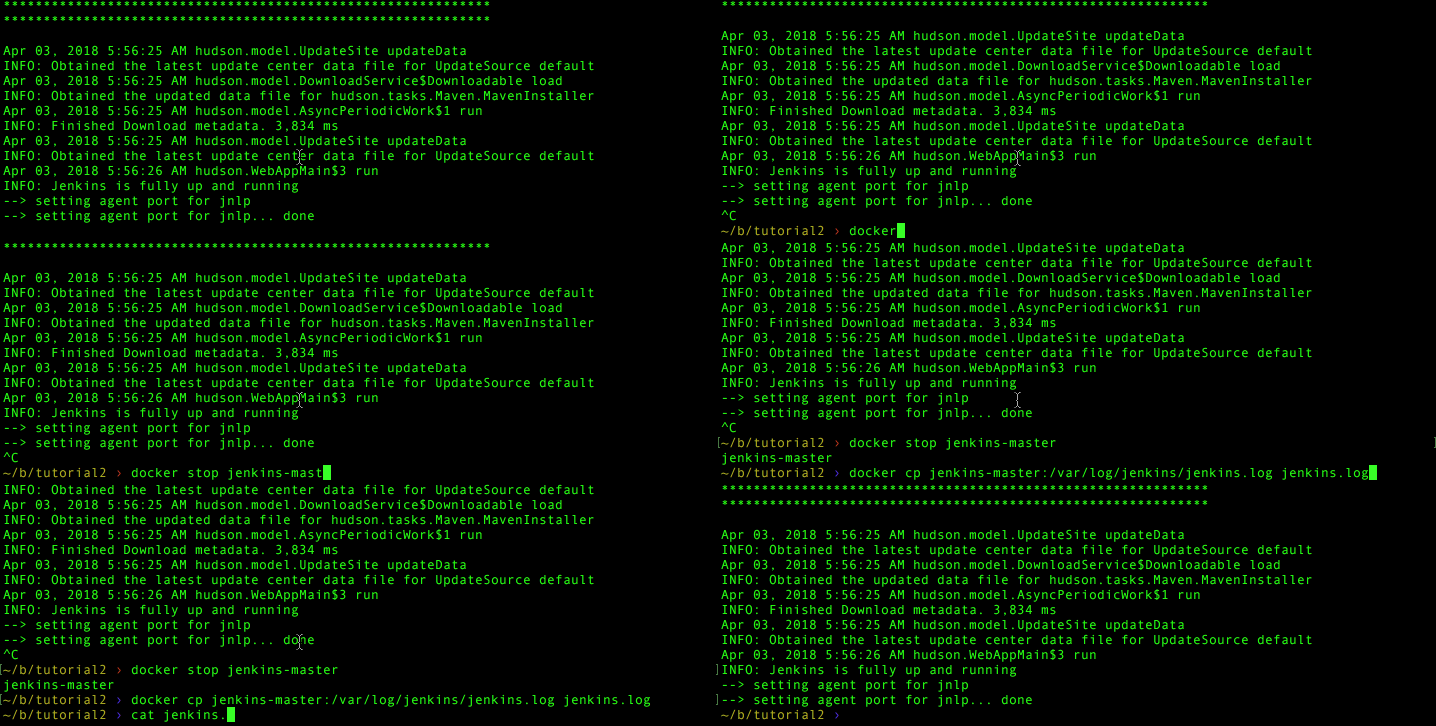
CONCLUDING THOUGHTS
You can find all the work in my tutorial Git repo (and the updated convenience makefile) here:
By making our own Dockerfile that wraps the Cloudbees file, we were able to make life a little easier for ourselves. We set up a convenient place to store the logs and learned how to look at them with the docker exec command. We moved our default settings into the Dockerfile and now we can store this in source control as a good piece of self-documentation.
We still have a data persistence challenge. We’ve learned how to pull log files out of a stopped container (handy when Jenkins crashes). But in general if our container stops we’re still losing all the jobs we created. So without persistence, this Jenkins image is only useful for local development and testing.
That leads us to the next article. With our foundations in place - our own Dockerfile wrapper, locked to a handy version of Jenkins - we can solve the persistence problem. The next article will explore these concepts:
-
Preserving Jenkins Job and Plugin data
-
Docker Data Persistence with Volumes
-
Making a Data-Volume container
-
Sharing data in volumes with other containers
For more information, check out the rest of this series:
Part I: Thinking Inside the Container
Part II: Putting Jenkins in a Docker Container (this article)
Part III: Docker & Jenkins: Data That Persists
Part IV: Jenkins, Docker, Proxies, and Compose
Part V: Taking Control of Your Docker Image
Part VI: Building with Jenkins Inside an Ephemeral Docker Container
Part VII: Tutorial: Building with Jenkins Inside an Ephemeral Docker Container
Part VIII: DockerCon Talk and the Story So Far
